Why Authorize.net Magento 2 is a must, not just a nice-to-have?
Magento 2 has been a darling for any business, regardless of its size. However, going forward with Magento 2, the need for robust and reliable payment integrations must be underscored more. One of the critical integrations is with Authorize.net — a leading payment gateway that has earned the trust of over 445,000 merchants globally. Therefore, it forms an essential parcel for any Magento 2 merchant.
However, due to the continuous update of Magento 2 versions, the integration of Authorize.net also changed. In this article, Magestore will demonstrate 2 different ways of integrating Magento Authorize.net.
Unlike most generic blog posts promising one quick fix for all, we’ll delve deeper into the individual approaches to let you make an informed decision for your unique needs.
Sounds like a match? Read more!
FAQs
1. What is Authorize.net CIM?
Authorize.net CIM (Customer Information Manager) is a system that allows businesses to store customer payment information securely on Authorize.net’s servers instead of on the Magento server. That means customers can save their payment details, like credit card info, billing address from the checkout page, or bank account information, for quicker checkouts in future transactions.
Besides, CIM eases the process of making payments and provides Magento 2 PCI compliance by moving the storage of sensitive data away from the merchant’s server.
2. What is Authorize.net ACH?
Authorize.net ACH (Automated Clearing House) is a payment processing service that helps businesses accept electronic check payments right from their customers’ bank accounts. As part of the integrated solution, Authorize.net eCheck provides an organization with security and efficiency compared to paper checks and card payments.
3. What is Authorize and Capture in Magento 2?
“Authorize and Capture” refers to a critical payment action setting for Magento 2 payment extensions such as Authorize.net. This setting offers two primary options:
Authorize Only
- Verify the availability of funds using the customer’s payment method
- Do not immediately transfer funds
- Require manual capture by the merchant, typically at the time of shipment
Authorize and Capture
- Combine authorization and fund capture in a single step
- Charge the customer’s account immediately upon order placement
- Automatically generate an invoice in Magento 2
These options depend on the merchant’s business model and cash flow requirements. “Authorize Only” provides flexibility in timing the actual charge, while “Authorize and Capture” ensures immediate payment collection.
4. How do I integrate payment methods in Magento 2?
Integrating payment methods in Magento 2 is a crucial process for eCommerce functionality. Here’s a concise guide to help you get started:
Payment method integration in Magento 2 — Key steps
Step 1: Access admin panel: Navigate to your Magento 2 Admin Panel
Step 2: Navigate to payment methods: Go to Stores > Configuration > Sales > Payment Methods
Step 3: Select a payment method: Magento 2 offers built-in options like Check/Money Orders, Cash on Delivery, Bank Transfer, and more. Choose one method for your business model.
3rd-party payment gateway integration:
For 3rd-party payment gateways like PayPal or Authorize.net, you need to install additional modules or extensions. Here’s an overview:
Step 1: Install the extension
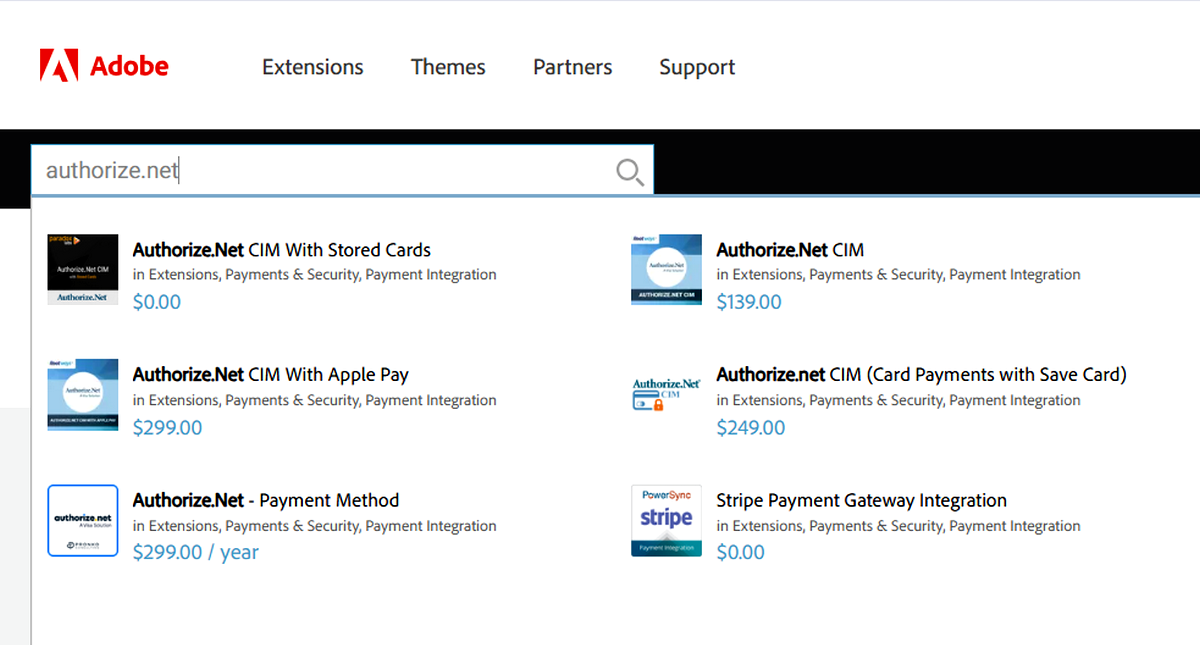
- Go to the Magento Marketplace and find the extension for the payment gateway you want to integrate
- Follow the installation instructions provided by the extension developer
Step 2: Configure extension
- After installation, return to Stores > Configuration > Sales > Payment Methods
- Locate the newly installed gateway in the list
- Configure according to the extension’s documentation and your merchant account details
5. What payment methods does the Authorize.net CIM extension support?
The Authorize.net CIM extension supports the following payment methods:
- Credit and debit cards: Visa, MasterCard, American Express, Discover
- Electronic checks (eChecks): Direct bank account payments
- Digital wallets: Magento 2 Apple Pay, Visa Checkout, PayPal
- Tokenized payments: Enhanced security with tokenization
6. How to set up Authorize.net in Magento 2?
Authorize.net allows customers to make secure payments directly on your website. Once you set it up, your site will be ready to accept payments seamlessly.
To get started quickly, follow these three steps:
Step 1: Set up Authorize.net direct post Magento 2: Configure the Direct Post method to enable secure transactions
Step 2: Connect to your Authorize.net account: Link your Magento store to your Authorize.net account using your API credentials
Step 3: Configure the system: Finalize the settings to ensure everything is working smoothly and securely

