If you are an eCommerce shop owner, how your store looks is very important. Product images play a big part in customer’s buying decisions. Technology advances have changed customer expectations — now your customers probably expect a 360-view of every item before buying it.
Product photography will influence your store’s conversion rate and revenue. So this article gives you a deep understanding of what product photography is, why it is important, and 10 eCommerce product photography best practices to follow.
What is product photography?
Product photography is applying photographic knowledge and skills to eCommerce images to attractively showcase them and encourage potential customers to buy products.
We utilize product photography in various online and offline marketing activities, including:
- Brochures
- Leaflets
- Flyers
- Catalogs
- Digital ads
- Magazine ads
- Websites
- Landing pages
- Especially in eCommerce stores
Nowadays, product photography for eCommerce has become a sub-industry that employs advanced techniques to create the best possible quality for the product presence in online stores. Every item, ideally, will be displayed with a range of pictures offering 360-degree views. A high-quality store image can significantly enhance the customer experience on your website.
We have 2 main types of eCommerce product image:
- Product-only images: Products on a white background
- In-context (lifestyle) images: Products being used in a real-life situation
Product-only image
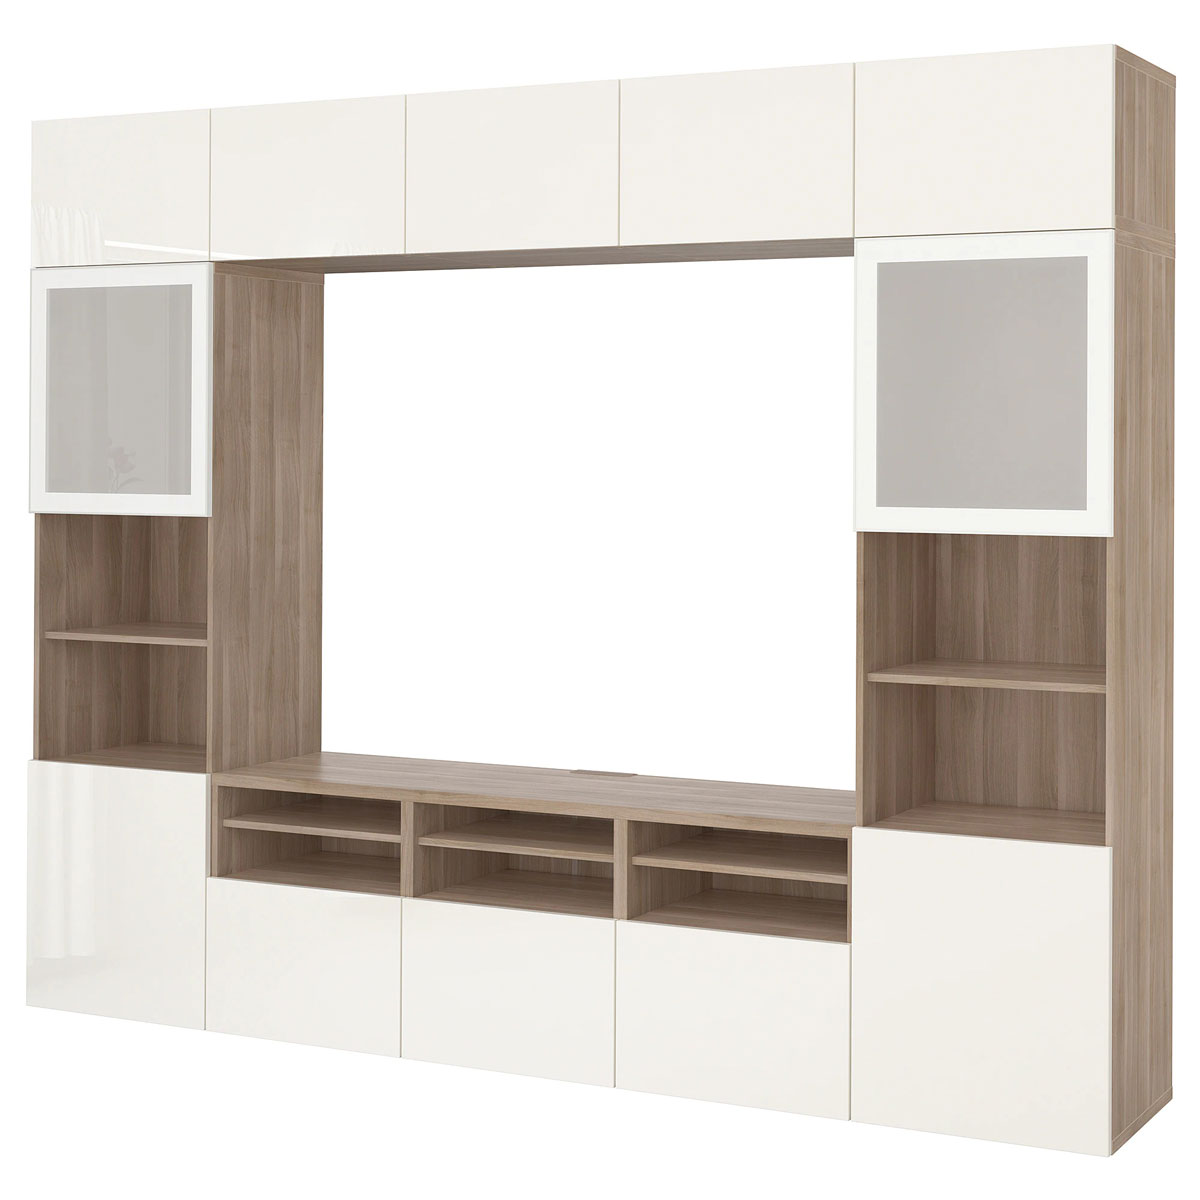
A product-only image is the best choice to showcase all angles of your product in the best light. It highlights your products against a background that’s white in most cases.
Using only one-color background keeps the store look consistent while emphasizing different item colors and styles. In addition, the white background is the best choice to reduce distractions to display your products.
In-context image

In-context image is the most popular choice if your brand has collections of items that go well together, you want to interest customers with real-life applications of your catalog, and emphasize the USP of products.
For example, you can showcase your luxury summer collections with models lying on the beach, surrounded by high-end accessories. In addition, you can upsell by showing how your products can complement one another.
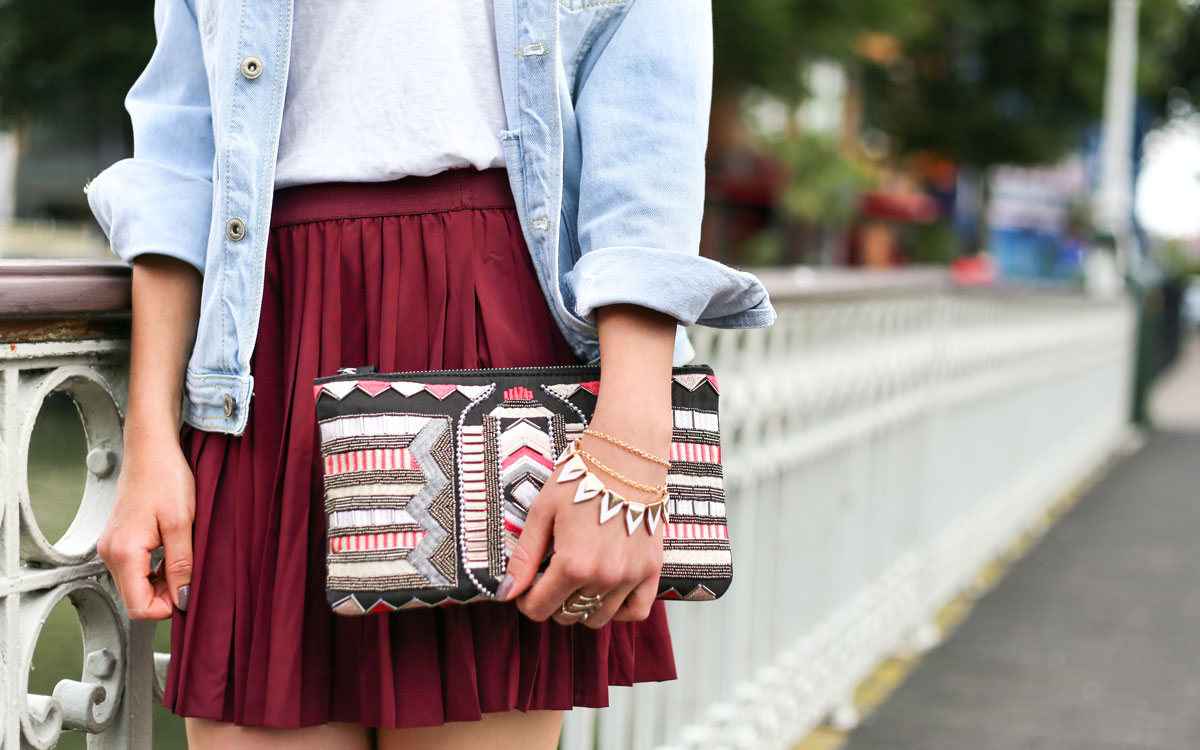
It’s a no-brainer that your brands choose between product-only or in-context based on the nature of your item. For example, if you sell home furniture, you will need to show your customers a background to create context and a sense of desire. However, if you sell products more patterned or detailed, the product-only shots with the best light are a better choice.
Why is product photography important?
Pictures influence the first impression of customers, which encourages them to continue scrolling down to see your stores and finally, buy your products.
Nowadays, more and more brands understand the importance of product photography for eCommerce. On one hand, product photography helps to certify the product’s quality, on other hand, it is like a window into an eCommerce store, bringing transparency and trust to your brand.
No matter what your product is, book, clothes, accessories, machines, or hardware, you need product photography to show customers exactly what they will pay for. It also reduces the return rate if the product doesn’t meet their demands.
High-quality images improve customer experience across touchpoints
Image showcases your product’s value and details. Visuality is the factor that influences the buying decision of 93% of consumers. It convinces target customers to buy, visualize your content, and make your whole online store more realistic.

Images are a key element of branding
Images are the first thing to catch customers’ eyes, create trust and encourage them to click further. Images, including posts on social networks, website, and all marketing materials, are the “look” of your brand. Through all elements of the image (theme color, quality, subject, text, edit), your brand speaks to your target customer in a transparent and consistent voice.
Every brand needs to build a long-term connection with customers, and images are vital to achieving that goal.

Tools for product photography
Investing in good tools is the first piece of advice if you consider taking high-quality product images important for your eCommerce store. The cost of tools is an advanced investment that would return in the form of grown revenues.
Camera (or your smartphone)
What’s the best camera for eCommerce product photography?
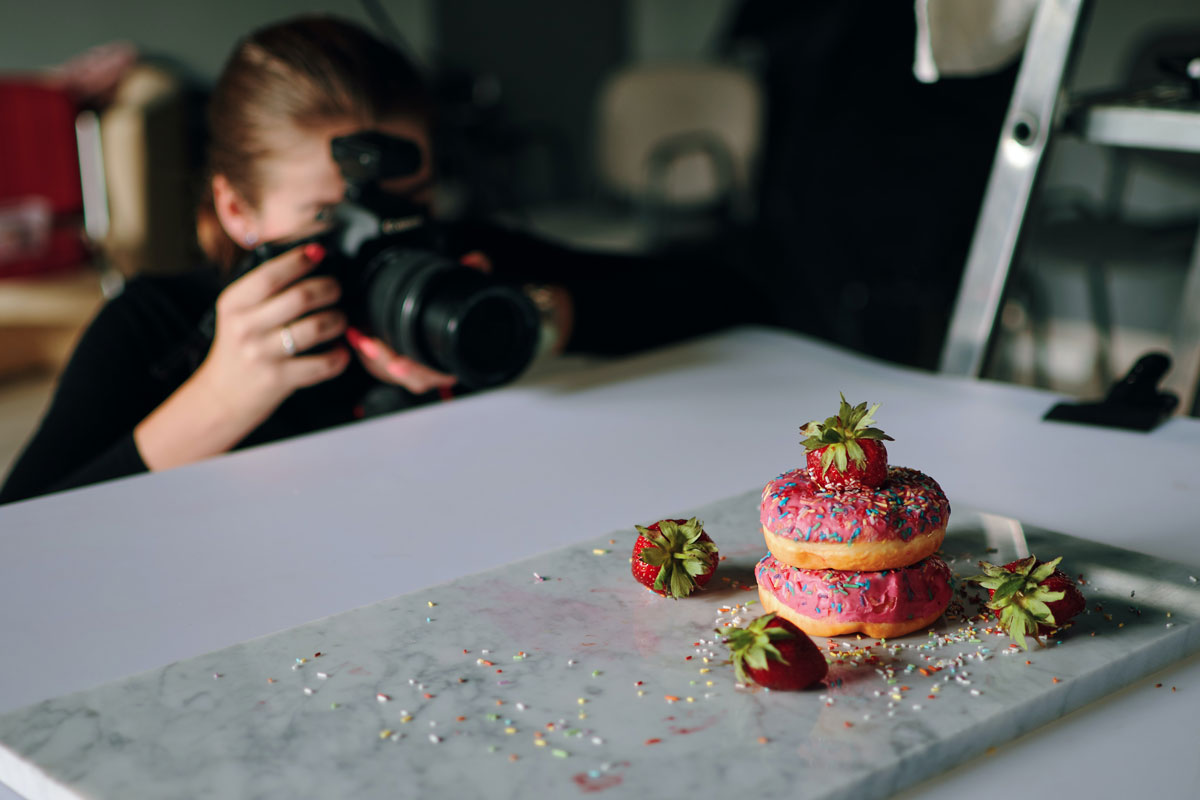
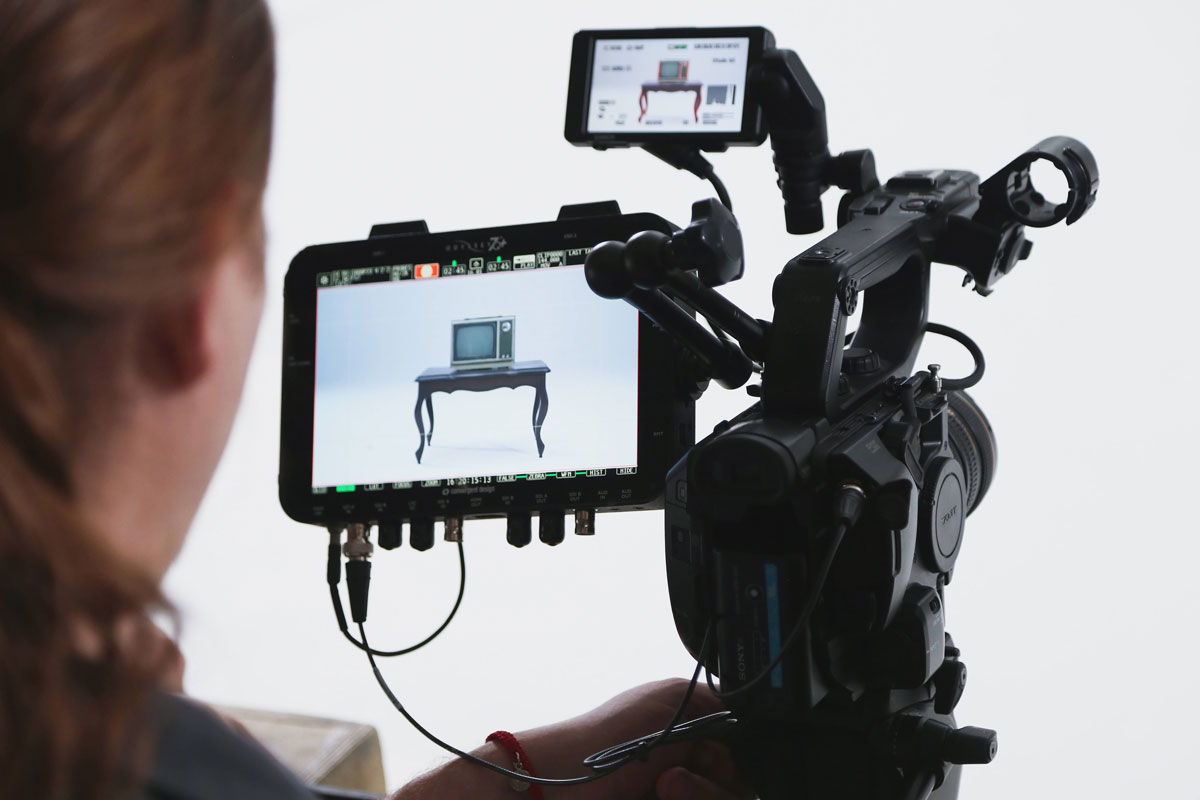
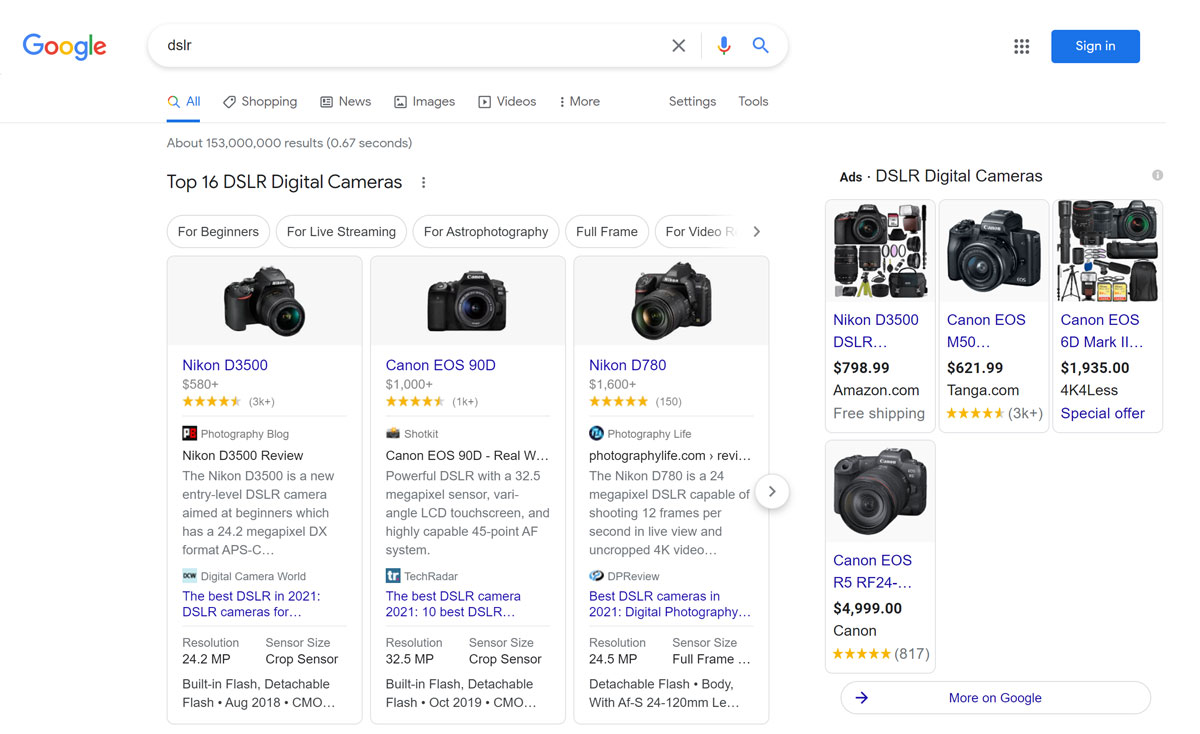
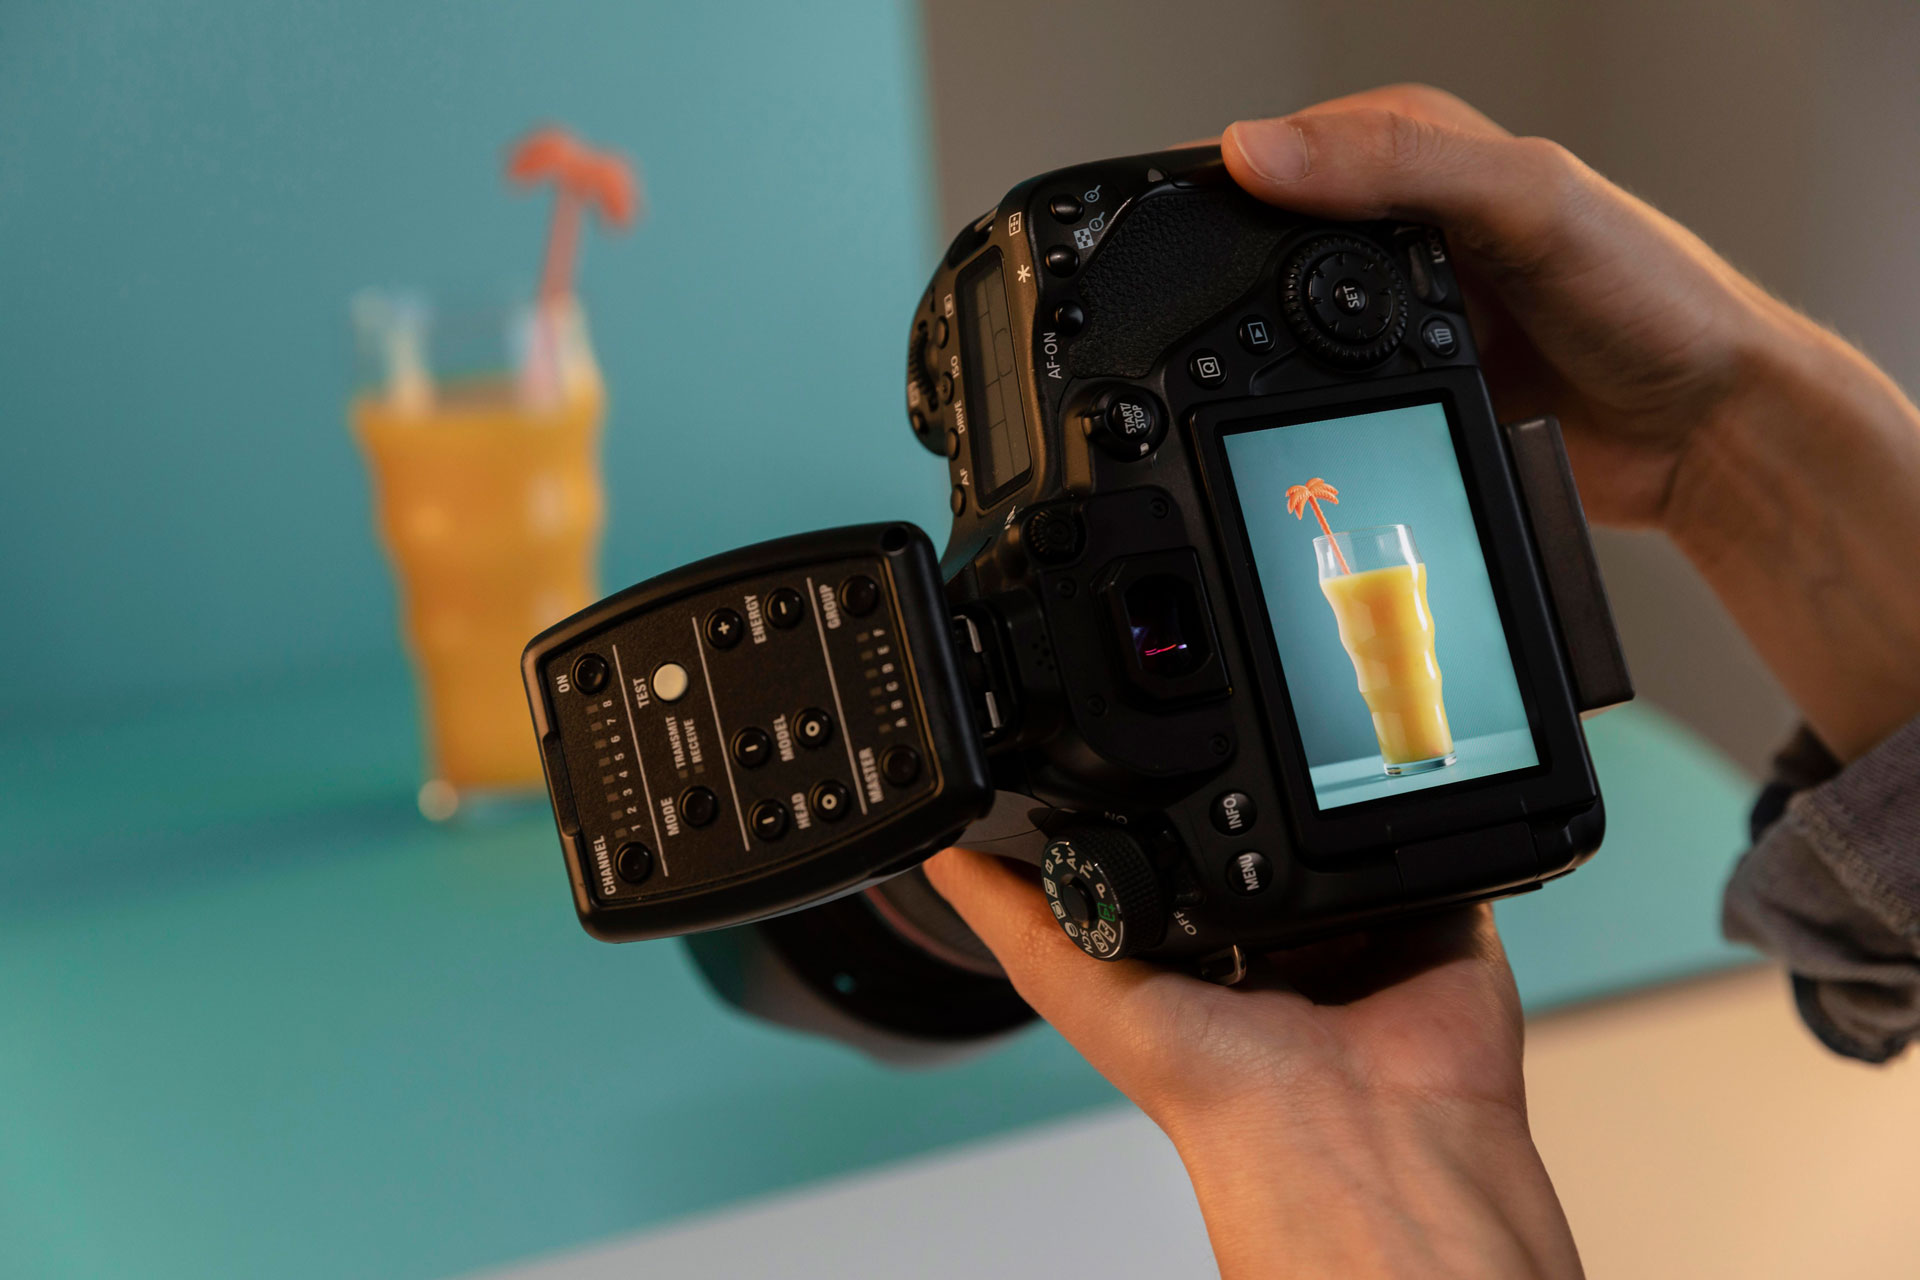
Equipping a DSLR camera allows your photographer to set up parameters that fit your products and campaigns. A DSLR camera provides a manual mode that allows you to customize settings such as ISO, white balance, shutter speed, and aperture. A professional DSLR should have an auto-focus function and at least 12 megapixels.
Smartphone cameras are also becoming higher-quality. Sometimes, they can take better images than professional cameras. So if you provide good light and background, iPhone or Samsung smartphones could do a great job as well.
Tripod
If your camera isn’t stable, you’ll probably end up with blurry images no matter how professional your camera is. To resolve your problem, use a tripod that is a 3-legged support to keep the camera stable still during your shoot.
Tripod is very important when shooting in low ISO — a setting that lessens graininess. Your photographer needs a tripod to reduce blur while minimizing graininess.
A tripod costs just $15, which makes it a reasonable investment for your DSLR camera or smartphone. eCommerce product photography doesn’t need a crew with immense professional cameras to do high-quality images.
A tripod, a camera (DSLR or smartphone), and your products are everything you need to shoot. However, your result could be even better with the right light and background.
Lighting
Lighting is one of the most important factors that decide whether you get a good picture or not.
You have 2 options:
- Natural light
- Studio light
Natural light can be the better and less expensive option. You’ll get all the photography lighting sources that you need when the sun’s out and your space has a window. One disadvantage is that you may have to cope with clouds or harsh light during daylight.
Studio light allows you to shoot no matter time of day or the weather. You could take consistently well-lit images with studio light.
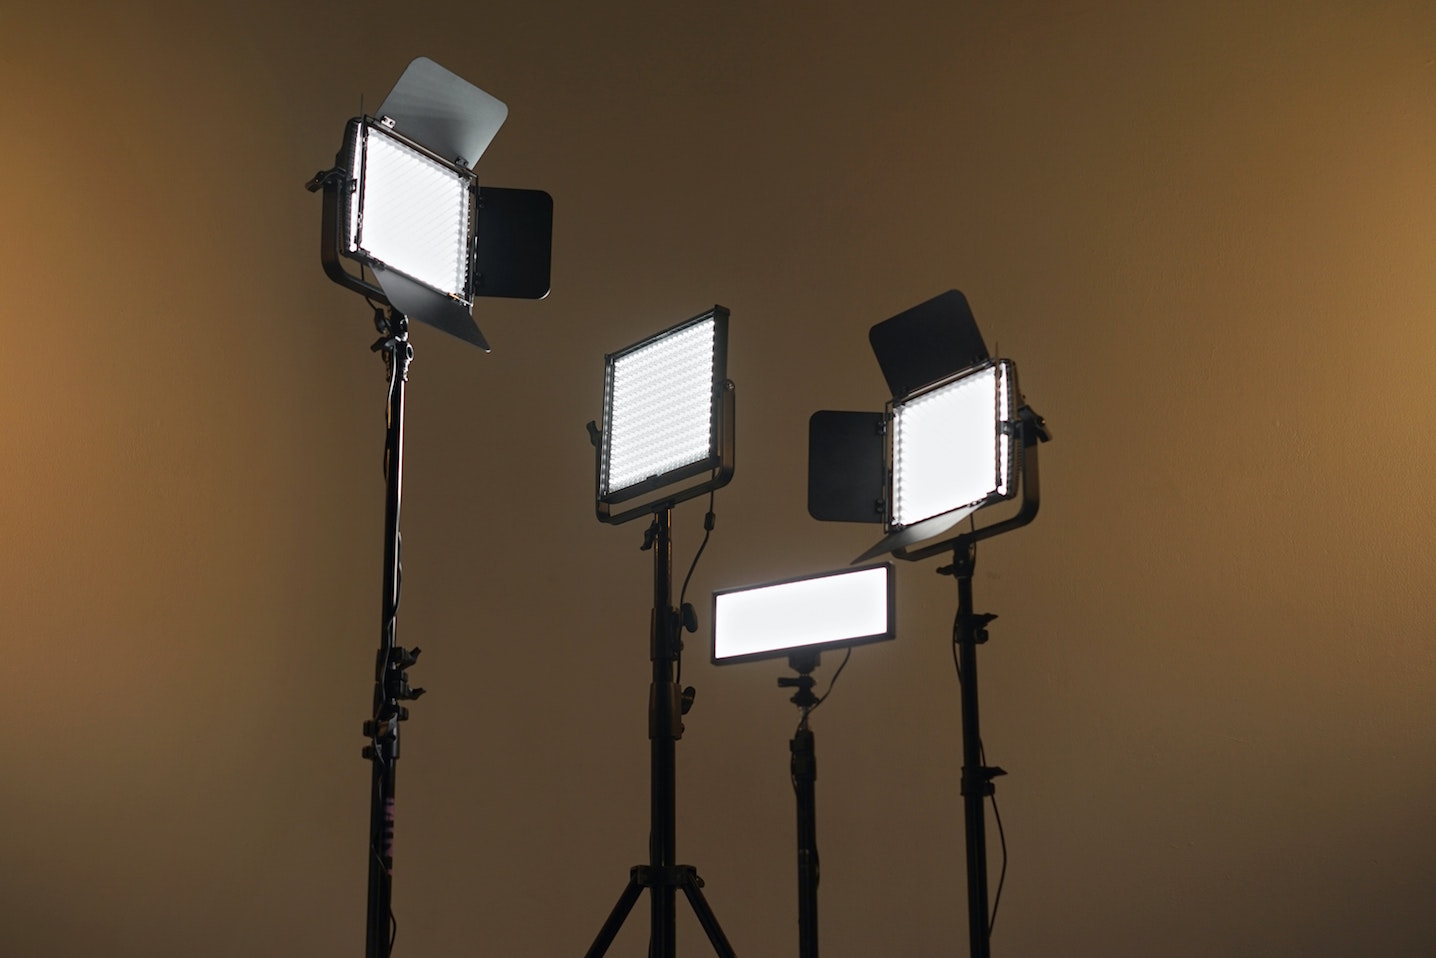
Natural light
Natural lighting is a cheap choice, easy to manually set up, saving you budget, hassle, and time. With natural light or direct sunlight, the first step is to place your camera, products, and window in the right way so that sunlight can illuminate your product without making your camera blind.
- If the natural light is too harsh or shadows are appearing, a white paper or curtain over the window can reduce the light.
- Turning off all electric or artificial lights. Because artificial light doesn’t have the same color as sunlight, so let’s use only natural light to take consistent well-lit shots.
- If your products have a dark color, use a white cork board or bounce card to reflect lighting onto products. Your products can be placed between the window and the corkboard.
Instead of passively waiting for just the right sunlight, you can work with the sun by making adjustments to make the light bright or dim enough for your product.
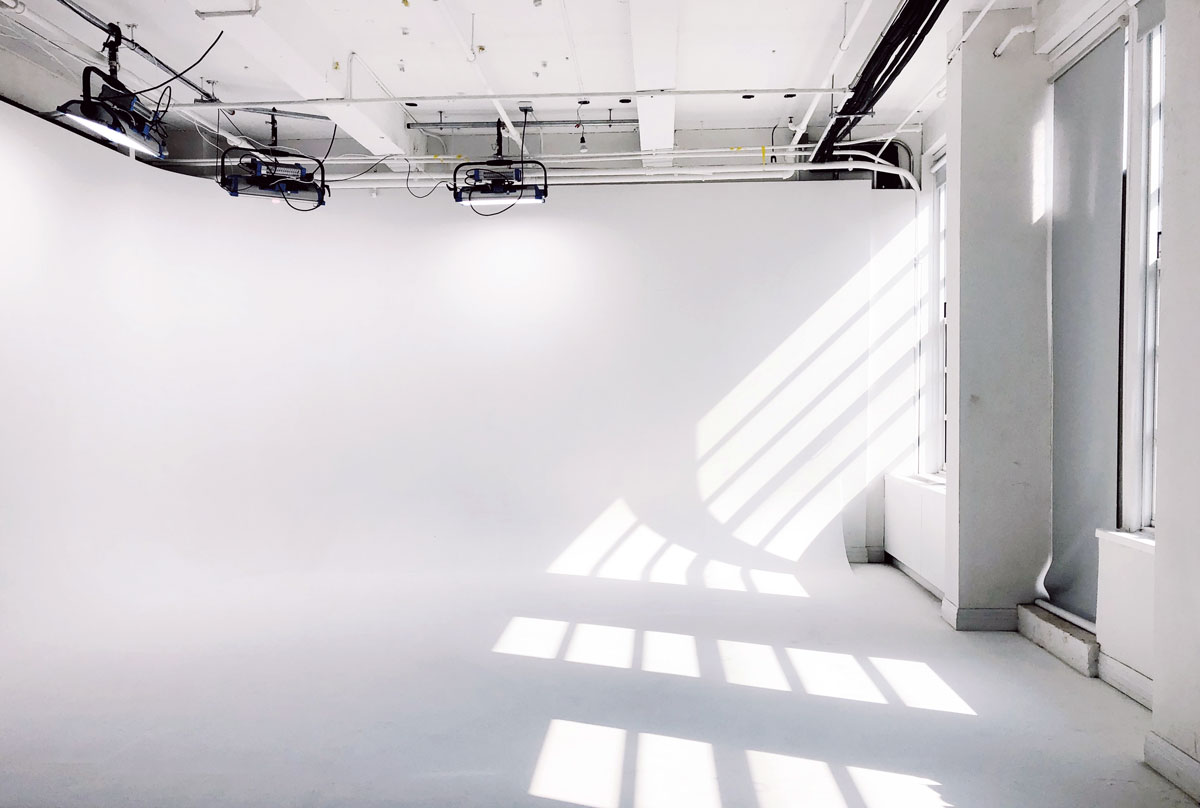
Studio light
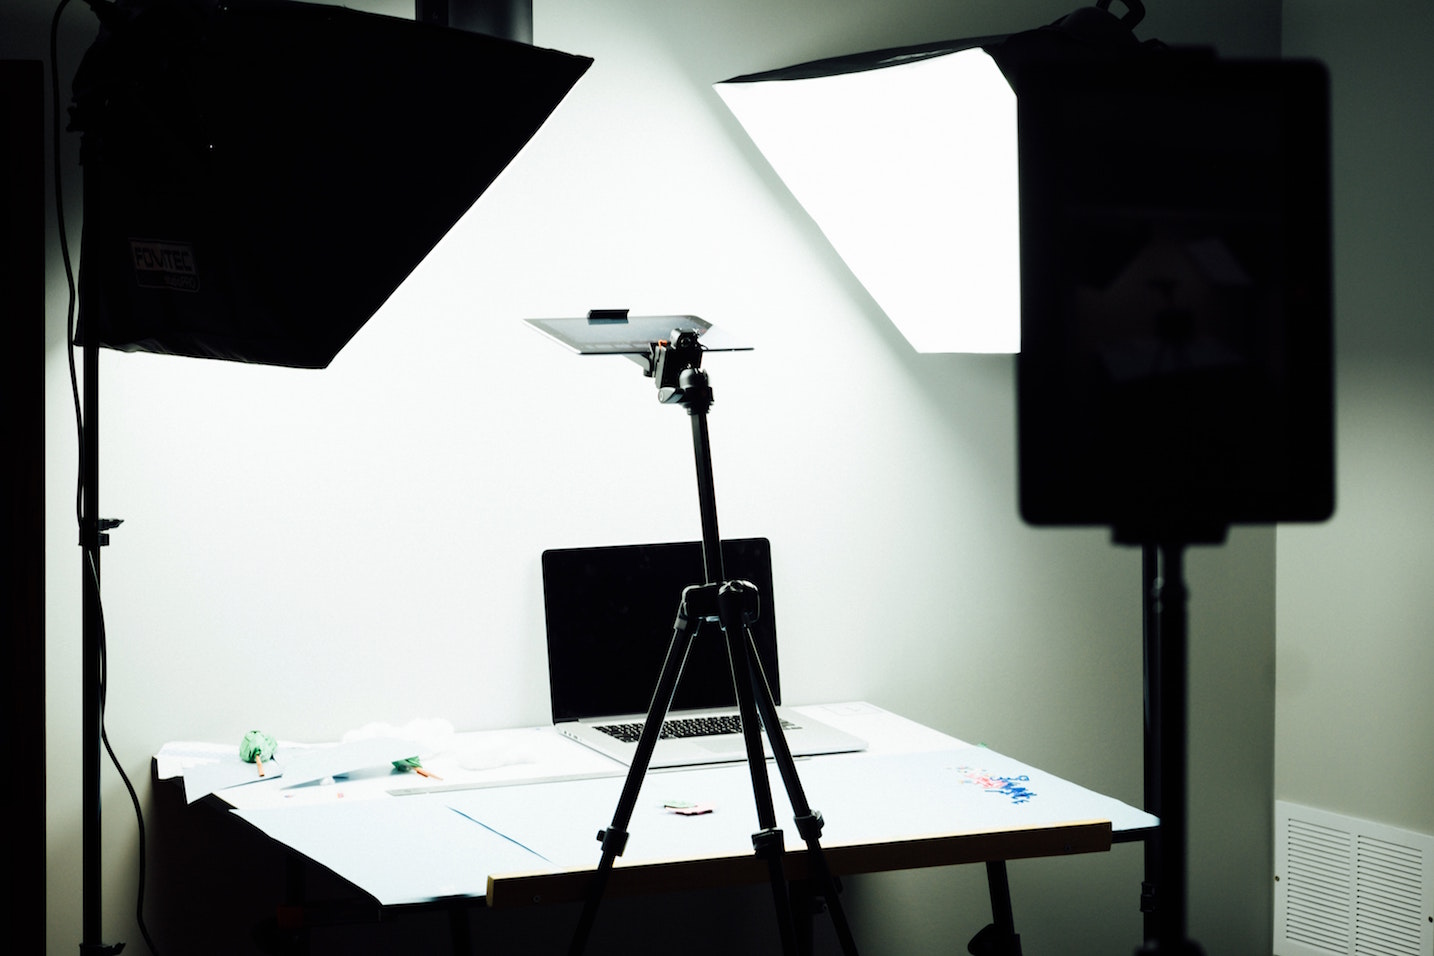
Studio light is best if you want to manipulate your shoot. To shoot in studio light, you need at least 2 lights to shadow in the right way. Amazon sells them for around $60.
One of the lights is a key light, directly aiming at the product by setting it in front or often slightly to one side of the camera. The others are used to fill light or backlight depending on your products and desired result:
- Consider setting white covers (by paper or curtain) over the lights to reduce the harsh light, also achieving softer shadows
- Control the distance and angles of the light to get the softest shadows
- Use white cardboard or plasterboard to optimize the lights and soften shadows
Studio lighting allows you to manipulate the whole shooting process, especially while taking a photoshoot of many products for a long time. Your team can take a consistent series of images while the setup is done right.
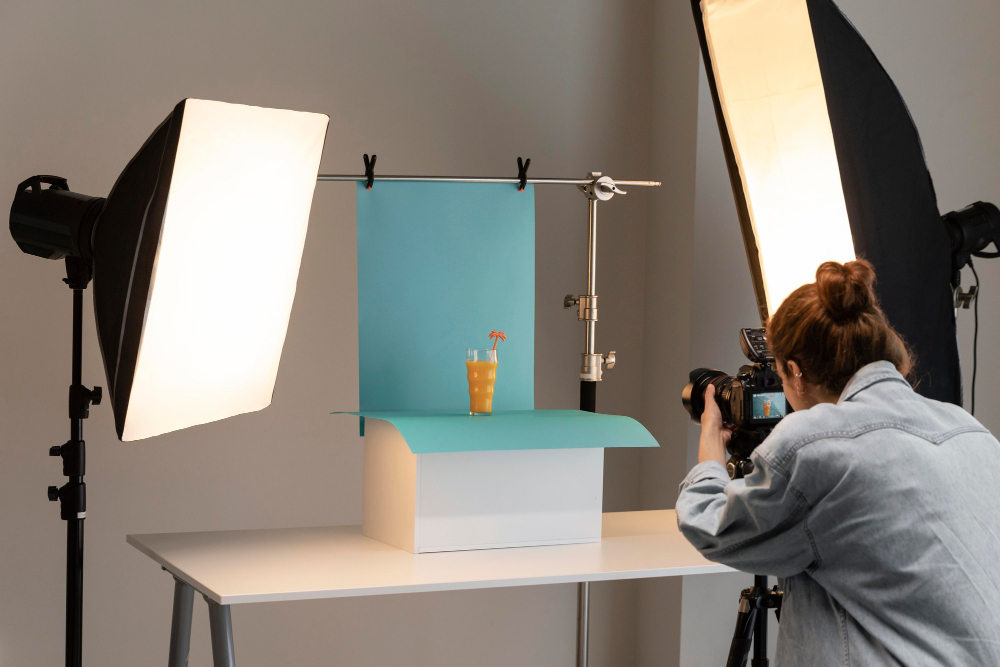
Shooting table
A shooting table is the first thing you should buy for eCommerce product photography.
The dimension of the shooting table depends on how large your products are. The ideal choice is the standard folding table with a width between 24 and 27 inches.
If you have small products, sometimes you can use a chair-mounted sweep. Then, you clip a roll of craft paper to the top of the chair.
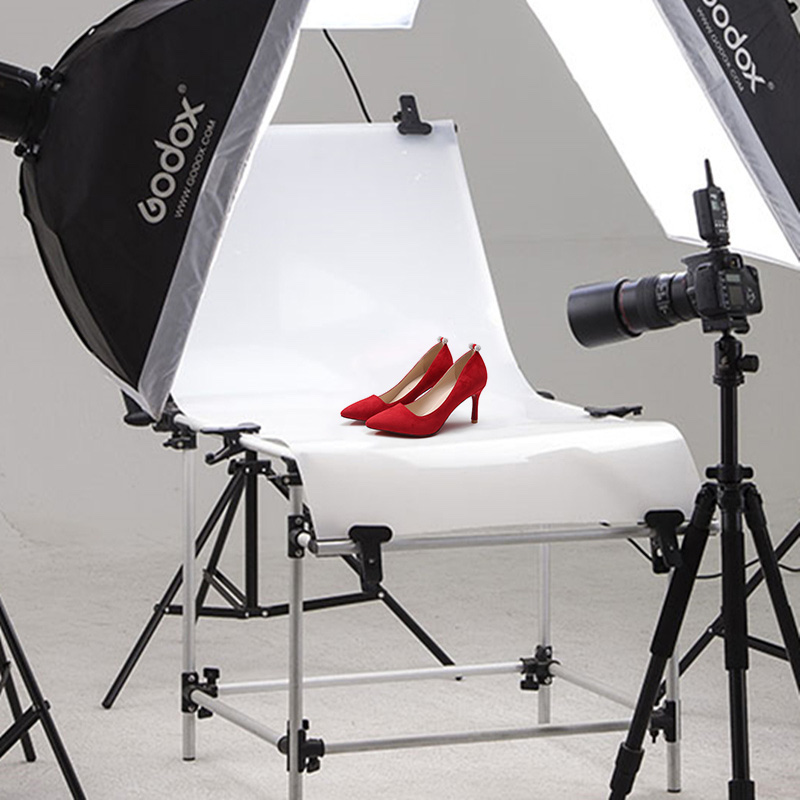
A light tent
A light tent is a box-shaped piece of equipment, covered by see-through walls. It helps allocate the light equally in the product. You can use the light tent to soften the light and limit reflections if your products are reflective.
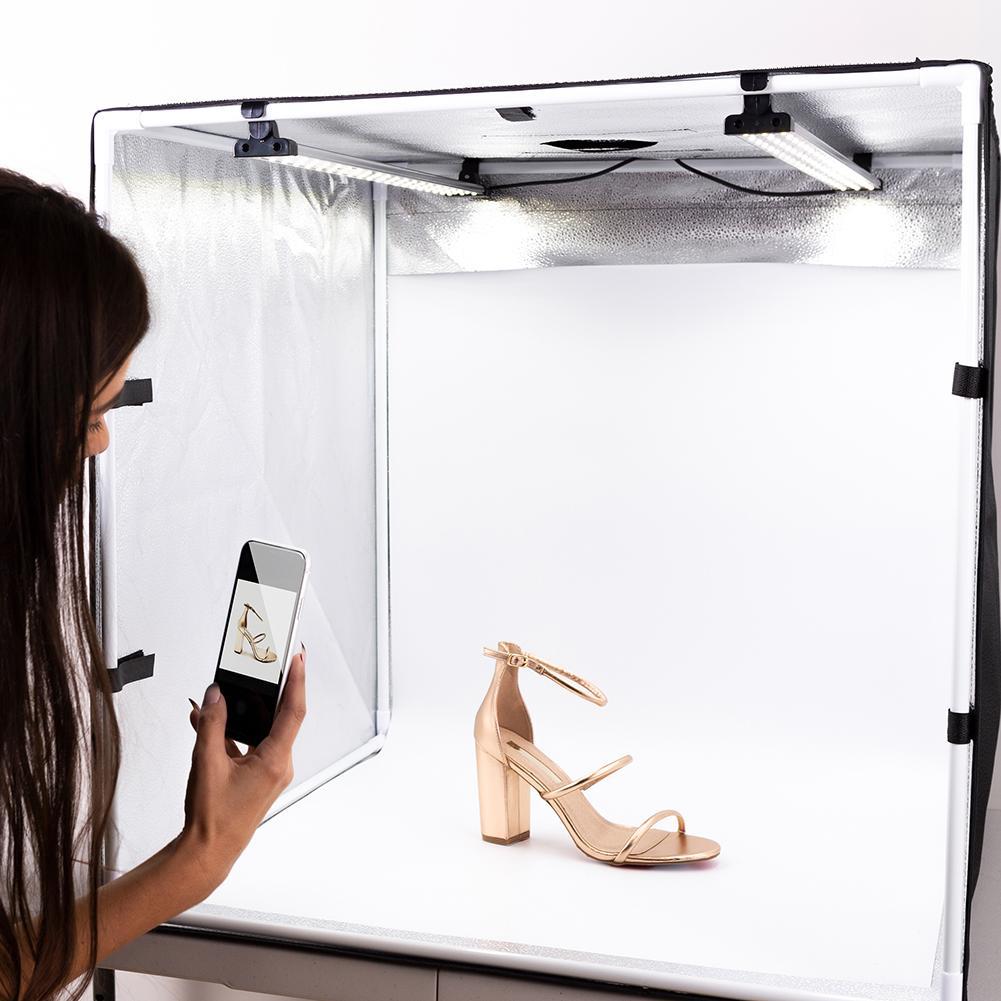
Image editing tools
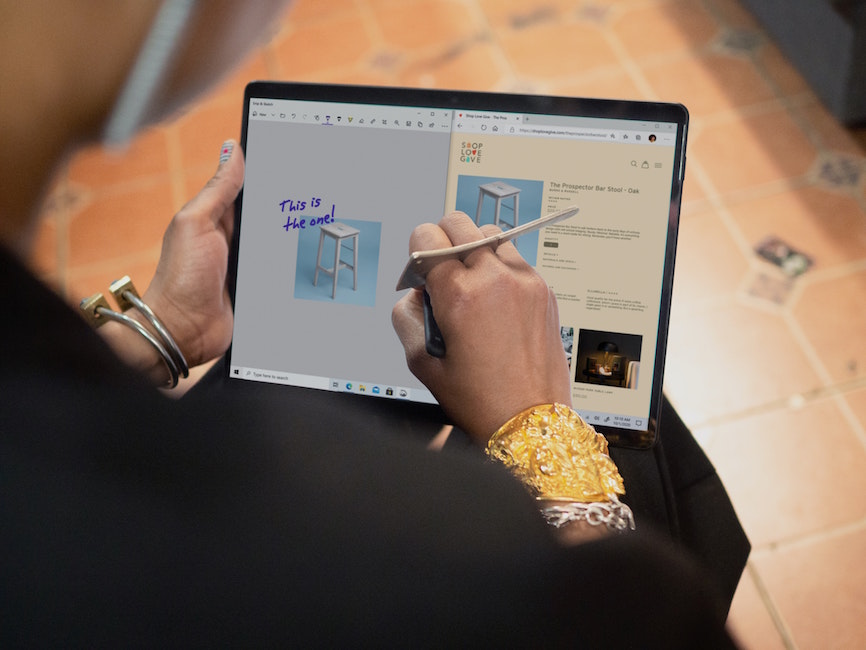
Don’t forget to retouch your photos before uploading them anywhere. Editing pictures is vital but also time-consuming. Luckily, there are plenty of free tools that make your work much easier.
- Canva: easy to use for unprofessional editors, suitable for marketing campaigns
- Snapseed: free, fully functional mobile app
- Pixlr: include many settings similar to Photoshop and all free
- Fotor: a smartphone app, very user-friendly and compatible with both iOS and Android
Photography guidelines for consistency
Photography guidelines are very important to keep your branding consistent. It takes time to build some checklists and details at first, but it will save you a lot of training for photographers and editors about your brand. Make sure that you list down everything related to your brand, including:
- Focal length
- Consistency
- Saturation
- Composition
- Shadows
- Color palette
- Location and context
10 tips to conquer eCommerce product photography
Of course, there are some tips and tricks to make your shooting easier and more efficient. We will list down the 10 most useful tips that can help you conquer all types of eCommerce product photography, with less effort.
- Don’t save money on a light. Lighting is the most important factor of a good image. Set at least 2 lights in your shoot. Make sure that you know whether natural or studio lights suit your products.
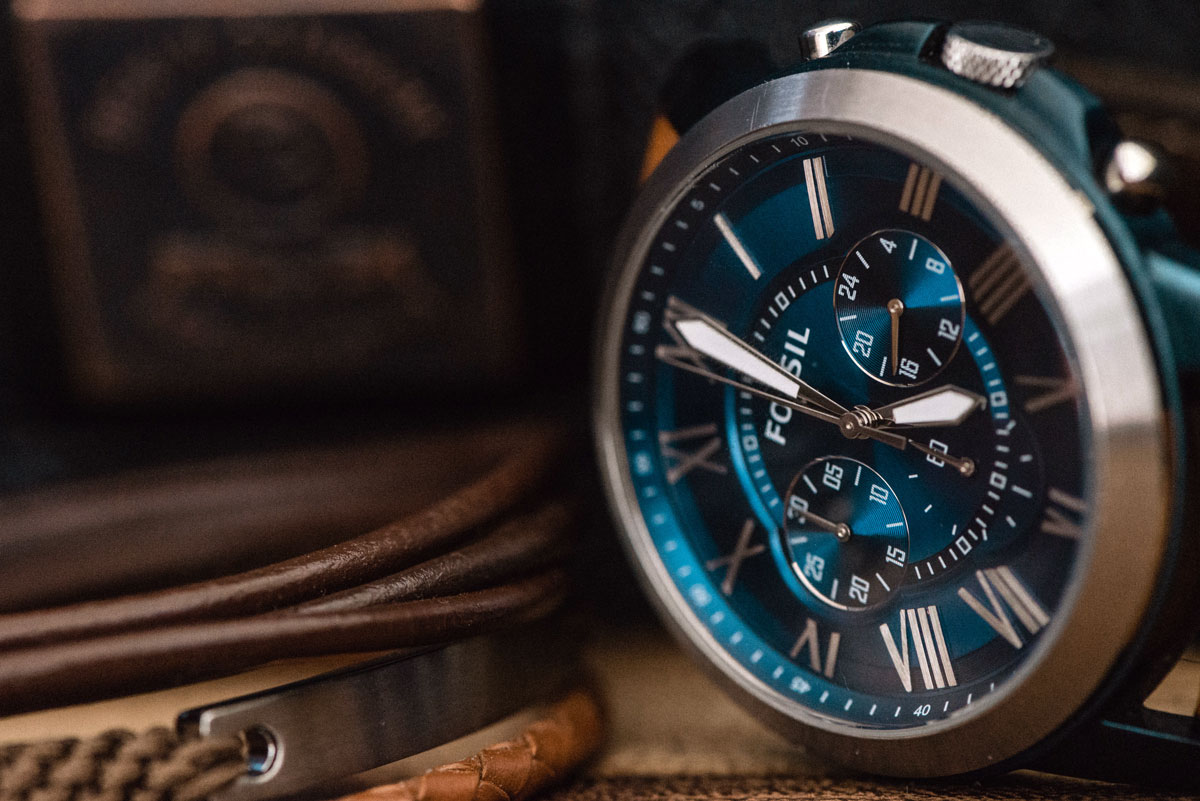
- Use high-resolution pictures. Remember that product photography aims to showcase every detail of your product.
- The standard eCommerce product image size is at least 500 x 500 pixels. Walmart prefers 2000 x 2000 pixels while 1000 x 1000 pixels are recommended in Amazon, for the good zoom feature in different devices. So, you should produce at least 2000 x 2000-pixel images to optimize in any channel.
- If you want a product floating effect, you can utilize a sewing thread to lift the product and use Photoshop or other image editing tools to easily remove that thread when retouching the images.
- Placing an acrylic glass (also known as plexiglass, acrylic, lucite, or perspex) under your product will create a great reflection.
- Always use a tripod to keep the product stable during the shoot. A lack of balance, even the smallest ones, can influence your final quality.
- A PC is always a better choice to edit images than your smartphone, no matter how expensive your smartphone is. Smartphones have small screens so you can’t see your product image’s details well.

- Remember to take several shots of every item from all angles (top, bottom, front, back, and sides). Because the goal of product photography is to clearly showcase your product for customers, so they can imagine what they’re going to buy.
- A 360-degree image simply is just a range of images at all angles of your product. To create a 360-degree product image, you don’t need to move the camera around the product. Instead, your product should rotate on a 360-degree turntable when your camera is set on a tripod to take images.
- SEO is very important for online shops. Remember to optimize your pictures for faster loading speed and relevant keywords.
Conclusion
eCommerce product photography has become an increasingly important tool for increasing sales as it helps to upgrade the impression of your store. You can easily find all the tools to take product photography with a very wide range of costs, depending on your products and your goal.
This article gave you a complete guide about all the necessary techniques and tips about how to create a 360-degree product image for your eCommerce brand. Now you can take action and see how it impacts your revenue in the future.





I really enjoyed this post and the way you presented the steps here
Thanks for sharing the informative article.
Great Post! I love this one.
I enjoyed reading your content, things getting shaped every days. I need to concentrate more on customer view points.
Great work, I like it